What is Montessori?
Dear Parents,
Montessori is an approach to the education of children. It is a way of looking at and understanding how children develop and learn, based on careful scientific study, that has been translated into a systematic method of education.
It was established in 1906 by Dr. Maria Montessori. Maria Montessori, originally a medical doctor, became an internationally renowned child educator when she brought the scientific methods of observation, experimentation and research to the study of children in the early 1900s.
Montessori concept can be categorized into five different groups:
1. Practical life
2. Sensorial
3. Language
4. Mathematics
5. Cultural


Montessori Practical Life - Dressing Frame
Dear Parents,
Montessori dressing frames are designed to help children practice fastening various clothing fasteners so that they can dress themselves. Generally the frames are made of wood and have fabric stretched around them. The fabric fastens in the front of the frame with a given fastener. For example, one frame might have a zipper fastener while another might have buttons or snaps.
Montessori dressing frames are designed to help children practice fastening various clothing fasteners so that they can dress themselves. Generally the frames are made of wood and have fabric stretched around them. The fabric fastens in the front of the frame with a given fastener. For example, one frame might have a zipper fastener while another might have buttons or snaps.
Montessori students use dressing frames to practice everything from buttoning shirts to lacing shoes.


Montessori Sensorial - Pink Tower
Dear Parents,
The Montessori pink tower is a lesson consisting of ten solid wooden cubes painted a light pink. It is used to help develop coordination, set a basis for the number system and increase awareness of dimension.
Instructions
1. Place the cubes at random on the green floor mat. The child can do this, carrying the cubes carefully two or three at a time to the mat and arranging them in a random order. You should be sitting side by side with the child so that the two of you will see the lesson from the same perspective.
2. Build the tower. Start with the largest cube, and place the cubes carefully and concentrically on top of each other. You must take care to place the cubes carefully since you should not adjust the cubes lest the child think the adjusting is part of the lesson and mimic your movements. As you pick up the cubes, grasp them with the fingers and thumb on all four sides in order to build a muscular impression of dimension and demonstrate that it is possible to judge size by touch as well as sight. None of this should be verbalized according to most Montessori experts.
3. Take the tower down block by block. Knocking it over will cause a disruption and is disrespectful to classroom materials and classmates. Before you leave the child to work on his own, you must demonstrate the proper way to dismantle the tower.
4. Allow the child to build the tower alone. Many children will have started to participate and even direct you or pick up cubes themselves before you have completed the first tower, so they will be eager to try their hand on their own. Do not correct mistakes at this point, as the tower will not stand steady if the cubes are not placed in the proper order.
5. Encourage the child to work with the pink tower lesson on subsequent days. The lesson should be easily accessible, and the child should not be corrected or over-supervised. Only offer help if it is solicited or if the child is clearly struggling and very lost. Even then, some Montessori schools discourage instructors from intervening but recommend that you simply rework the lesson together at some other time.


Montessori - Introduction of Practical Life(Part 1)
What is Practical Life?
Practical means basic, useful and purposeful and Life means the way of living.
Meaning and Purpose of Practical Life
The purpose and aim of Practical Life is to help the child gain control in the coordination of his movement, and help the child to gain independence and adapt to his society. It is therefore important to “Teach teaching, not correcting” (Montessori) in order to allow the child to be a fully functionional member in his own society. Practical Life Exercises also aid the growth and development of the child’s intellect and concentration and will in turn also help the child develop an orderly way of thinking.
Practical Life Exercises can be categorized into four different groups:
1. Preliminary Applications
2. Applied Applications
3.Grace and Courtesy
4. Control of Movement
I will brief the details topic above in my next posting.

Montessori - Introduction of Practical Life(Part 2)
Dear Parents,
Practical Life Exercises can be categorized into four different groups:
1. Preliminary Exercise
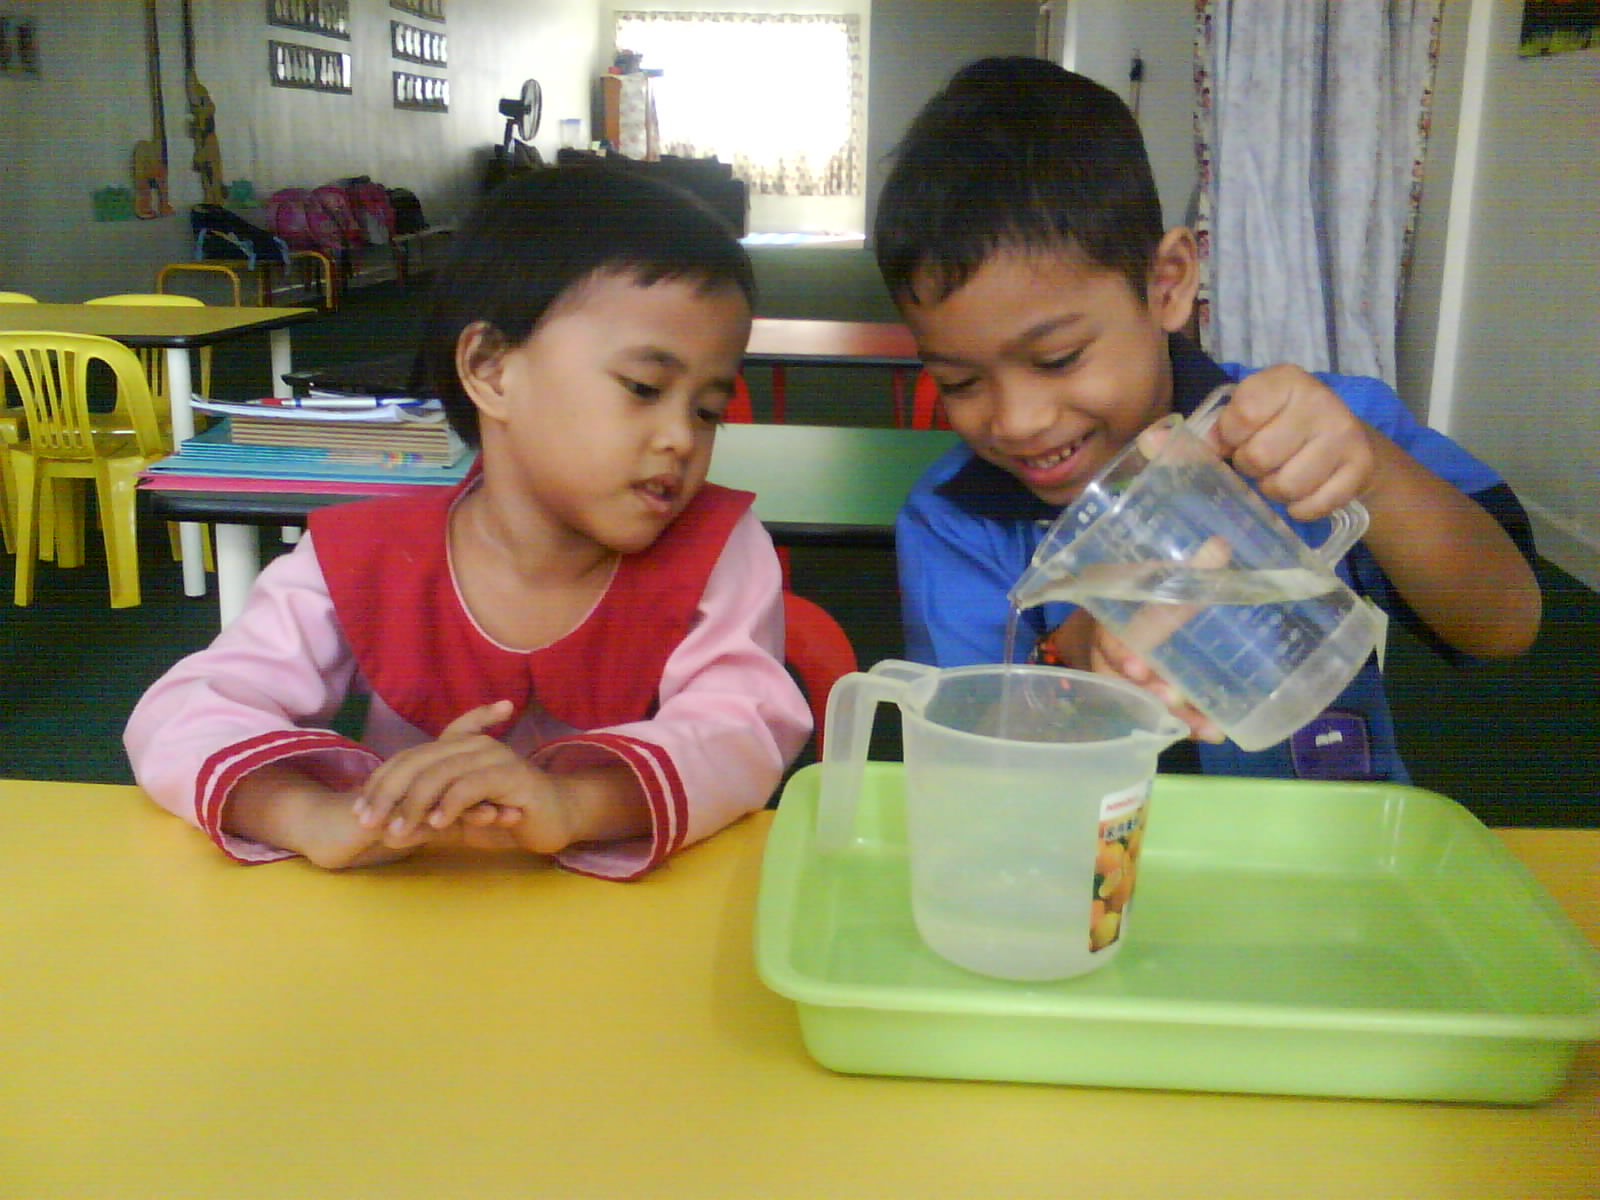
In the preliminary exercises, the child learns the basic movements of all societies such as pouring, folding, and carrying.
2. Applied Exercise
In the applied exercises, the child learns about the care and maintenance that helps every day life. For example, the care of the person (i.e the washing of the hand) and the care of the environment (i.e setting a table and chair or arranging flowers.
3. Grace and Courtesy
In the grace and courtesy exercises, the children work on the interactions of people to people. For example greeting a person, thank you, excuse me, yawning, offer help and expressing admiration.
4. Control of Movement
In the control of movement exercises, the child learns about his own movements and learns how to refine his coordination through such activities as walking on the line.

Montessori Mathematics - Number Rods
Dear Parents,
Montessori number rods are sticks of lengths varying from one decimeter to one meter. They are alternately striped red and blue by decimeter, and the colors correspond so that they can be lined up to make columns of color. Number rods can be used in many ways, but the most important thing to do first is use them to teach a child how to count to ten and understand the value of each number.
Instruction.
1. Have the child arrange the number rods on the mat in order of length. The red ends should be on the left and the rods should be lined up evenly when the student has completed the task. This is a good opportunity for the child to handle the rods. He may also notice that the red and blue lengths are the same. However, if he does not comment on this, you do not need to point it out at this time.
2.Use the one, two and three rods to initiate counting. You can do this by keeping these three rods to the side at first, then line them up as you count. For example, start by placing the one rod on the mat in front of the child while saying "One. This is one." Then do the same thing with the two rod by removing the one rod and placing the two rod in its place while saying "Two. This is two. One, two," and counting the segments on the rod. Finish with the three rod in the same manner.
3.Test the child's recall of the three numbers. Place the one, two and three rods in front of the child and ask her to identify various rods by number. For example, you might request the one rod, then the three rod, then the two rod, and then the three rod again. Each time, the child should either point to the correct rod or hand it to you. If this seems to be confusing, then she may need to see the counting exercise again.
4. Introduce the names of the rods. Place any one of the one, two or three rods in front of the child and ask him to name the rod. If he names it correctly, have him count it out by touching the alternating segments while saying the numbers. You can do this as many times as you wish.
5.Summarize the lesson. Place all three rods on the mat with the one rod closest to the student on the mat followed by the two and three rods. Count them in order while touching each one as you do so.
6.Continue to add to the lesson on subsequent days. Add more and more of the number rods to the lesson each day. You can add one, two or three more numbers depending on how comfortable the child appears to be with the numbers she has already learned. Eventually the child should be able to do the entire counting lesson with all ten rods and identify them correctly.
7.Keep the number rods on an accessible shelf where the child can reach them easily. He can do this lesson on his own by lining up and counting the number rods whenever he likes.


Montessori Language - Sandpaper Letters to Teach Writing
Dear Parents,
Montessori sandpaper letters are stiff cards with raised letters of the alphabet on them. These letters have a coarse, grainy feel, like sandpaper. Each card has a single letter on it, and the sandpaper letters can be used to prepare children as young as two for writing later in their education. Montessori schools initiate the sandpaper alphabet lessons at an early age so that children will be very comfortable with the materials as they use them for advanced learning.
Instructions
1.Select a single sandpaper letter. It should be a letter that the child is very familiar with.
2.Trace the letter a number of times with the first two fingers of your dominant hand. The child should watch you do this, then imitate your movements. This will also be very familiar to him already, and he may make the phonetic sound of the letter while he is tracing it with his fingers. This tracing lesson will help his muscles prepare for writing.
3.Write the letter on the piece of paper. Do so in a careful, methodical manner that is identical to the direction that you traced the letter with your hands.
4.Invite the child to trace and write also. The child should trace the sandpaper letter with her fingers, then write the letter on the paper. She should only pick up her pencil to dot an "i" or a "j" or cross a "t" or "f." Make sure that the child is writing the letters correctly. This is one time that you should step in immediately if you see an incorrect habit forming as it will be very difficult to break these habits later. The child can write letters of any size and at any angle as long as they are formed correctly.
5.Encourage the child to practice on his own. He should practice one letter at a time, but can expand to write multiple letters in a lesson as he becomes familiar with the process. The sandpaper letters, pencils and paper should all be easily accessible.

